
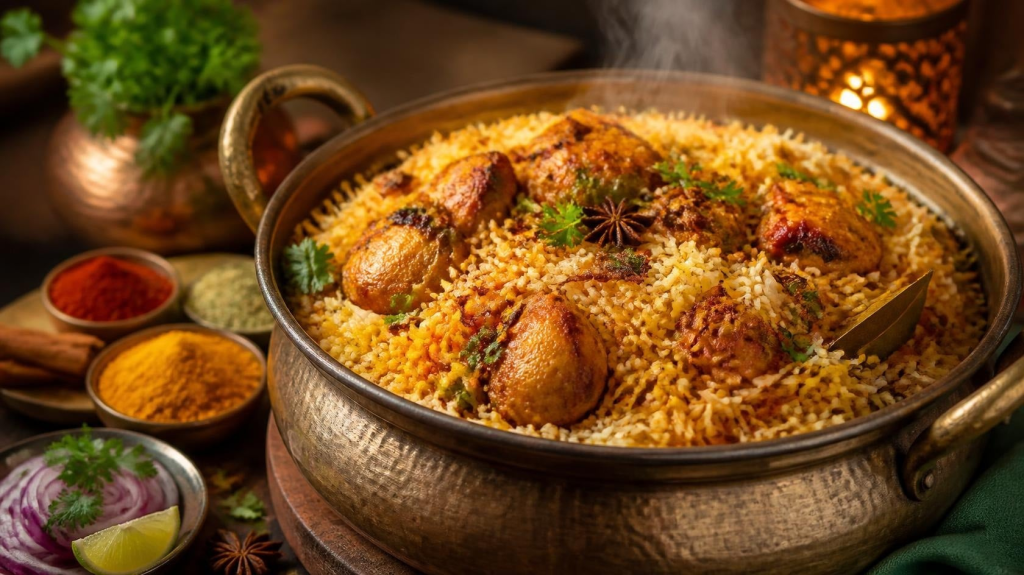
imagine a world where the intoxicating aroma of cumin, ginger, and garlic fills your kitchen, but the sink is empty, and you have time to actually enjoy your dinner. This isn’t a dream—it’s the reality of one-pot Indian cooking.
Let’s cut through the noise. The food world is obsessed with one-pot meals. Zomato’s parent company is launching Blinkit Foods to deliver ready-to-eat meals in minutes , and restaurant associations are scrambling to compete . Why? Because modern lifestyles demand convenience without sacrificing flavor. One-pot cooking delivers exactly that,and Indian cuisine, with its layering of spices and textures, is the perfect candidate.
At The Taste Voyage, we believe great food should be accessible. It should nourish your body, warm your soul, and fit into your life not demand your entire evening. That’s why we’ve curated the ultimate guide to one-pot Indian meals.
Table of Contents
- Why One-Pot Indian Meals Are More Than a Trend
- The “Detox” Factor: Comfort Food That Heals
- 10 One-Pot Indian Recipes to Transform Your Weeknight Dinners
- Frequently Asked Questions About One-Pot Indian Cooking
- Join The Taste Voyage Community
Why One-Pot Indian Meals Are More Than a Trend
The secret to one-pot success lies in flavor infusion. When rice, lentils, vegetables, and spices cook together, they exchange flavors in ways that multi-pot cooking simply can’t replicate. The rice grains absorb the tamarind tang, the lentils soak up the garam masala warmth, and the vegetables release their natural sweetness directly into the dish
Key Benefits at a Glance:
- The “Ghar Ka Khana” feeling: There’s something deeply satisfying about making food from scratcheven if it’s in one pot.
- Customization: You control the heat, salt, and ingredients. Allergic to garlic? Leave it out. Love ginger? Add extra.
- Freshness: No preservatives, no additives—just real food .
- Connection: Cooking is a form of self-care. Those 20 minutes of stirring and seasoning are meditation.
The “Detox” Factor: Comfort Food That Heals
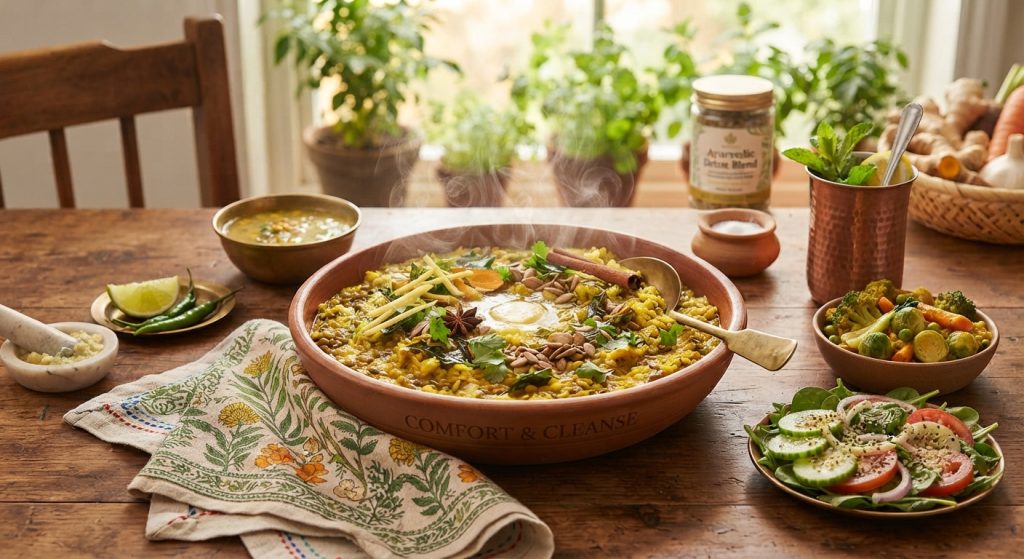
Interestingly, many one-pot Indian meals are naturally detoxifying. According to nutrition experts, dishes like Sambar Sadam, Curd Rice, and Khichdi support liver health, improve digestion, and calm the system,all while tasting incredible .
“Whether you are trying to prepare your body for an upcoming event or simply trying to lose weight, switching to ‘ghar ka khana’ (home food) is one of the best options.”
The Digestive Superstars:
- Khichdi: Rice and moong dal cooked with minimal spices—the ultimate comfort food, gentle on stomachs and universally loved .
- Curd Rice: Fermented rice with hung curd, pomegranate, and a tempering of curry leaves—cooling and probiotic-rich .
- Sambar Sadam: Rice, toor dal, tamarind, and vegetables—the tangy, spicy champion of South Indian kitchens
One-Pot Indian Recipes to Transform Your Weeknight Dinners
Here are our top picks—tested, approved, and guaranteed to make you fall in love with Indian cooking all over again.
One-Pot Rasam Rice (The “Warm Hug in a Bowl”)
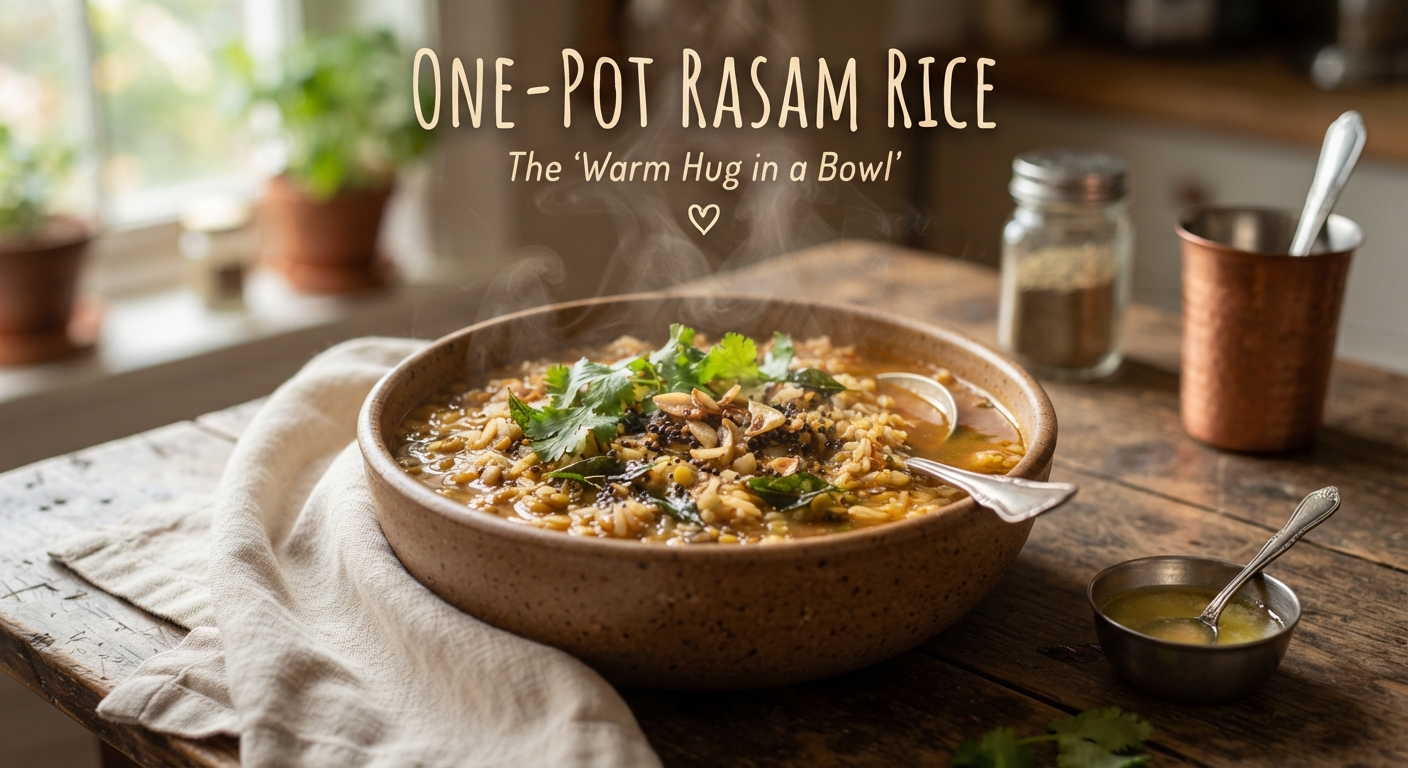
One-Pot Rasam Rice (The “Warm Hug in a Bowl”
Ingredients
Method
- Heat the oil or ghee in a large heavy-bottomed pot over medium heat and add the mustard seeds, cumin seeds, dried red chili, and curry leaves. Once they begin to crackle, add the chopped onion and garlic and sauté until fragrant and lightly softened. Stir in the tomatoes, turmeric, rasam powder, black pepper, and salt, then cook for 3–4 minutes until the tomatoes begin to break down. Add the rinsed rice, cooked dal, tamarind paste, and water or vegetable stock, stirring everything together until well combined. Bring the mixture to a gentle boil, then reduce the heat, cover, and simmer for 18–20 minutes, or until the rice is tender and has absorbed the fragrant rasam broth. Turn off the heat and let it rest, covered, for 5 minutes before gently fluffing it with a fork. Finish with fresh coriander and serve hot.
Notes
Khichdi (The Original Indian Comfort Food)
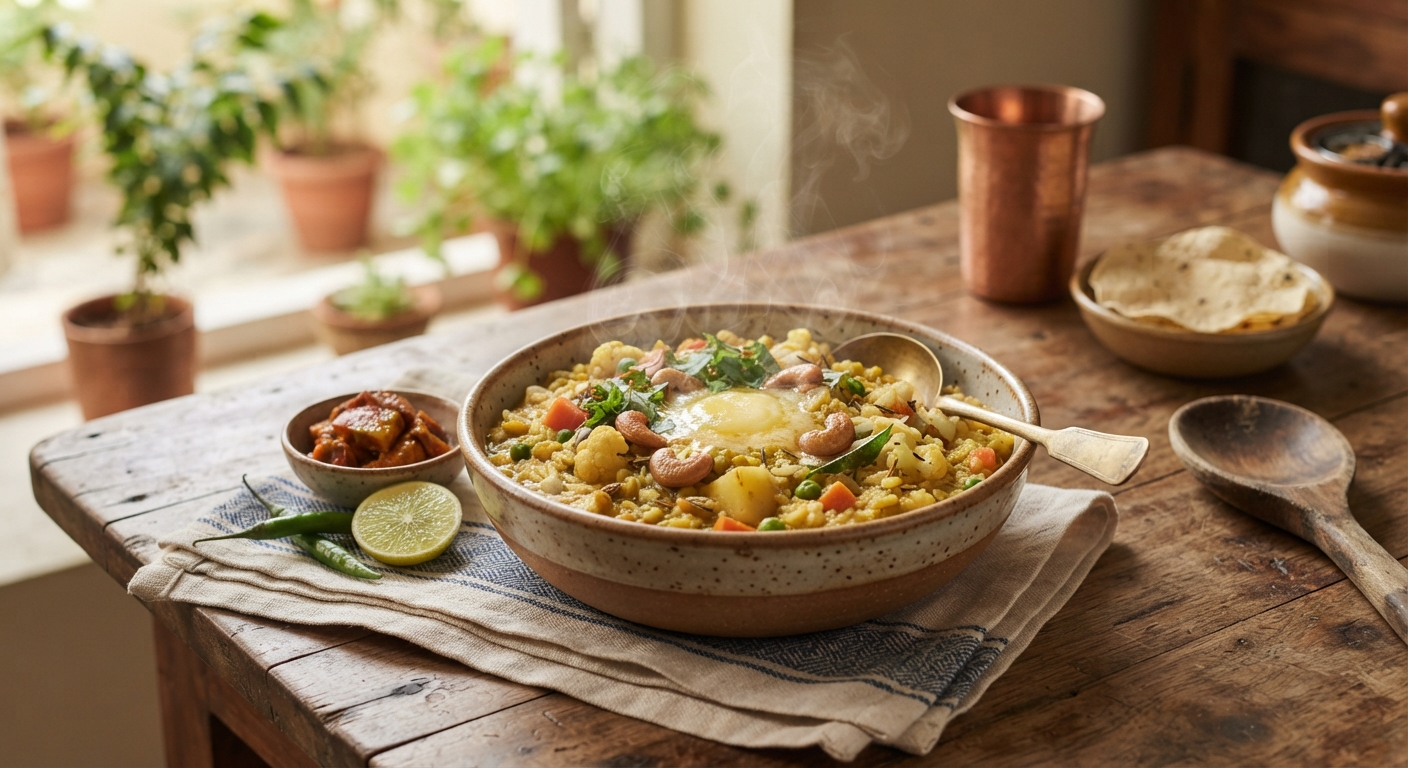
Khichdi (The Original Indian Comfort Food)
Ingredients
Method
Video
Notes
Vegetable Pulao (Fragrant Rice Perfection)
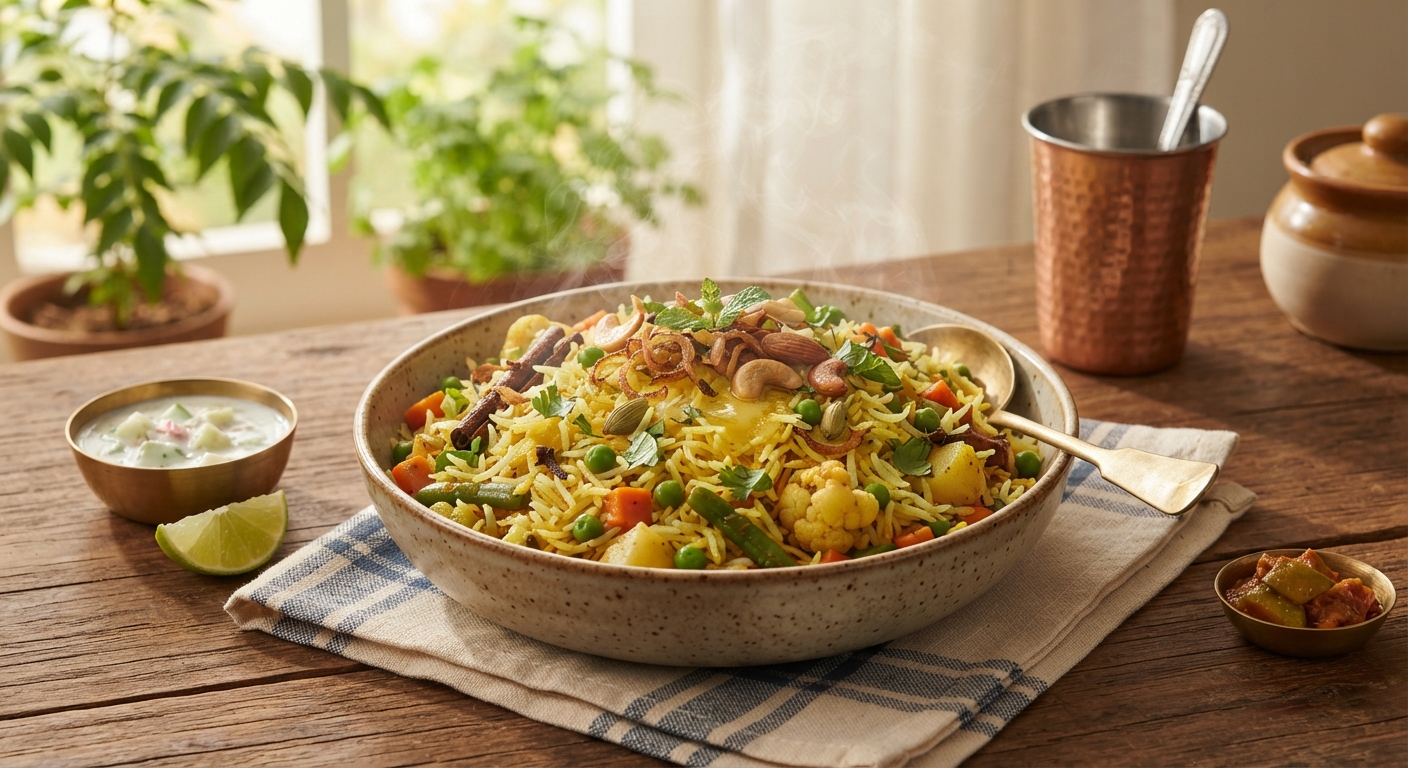
Vegetable Pulao (Fragrant Rice Perfection)
Ingredients
Method
- Heat the ghee or oil in a heavy-bottomed pot over medium heat and add the cumin seeds, bay leaf, cardamom, cloves, and cinnamon stick. Let the whole spices sizzle for a few seconds until fragrant, then add the sliced onion and sauté until lightly golden. Add the green chili and ginger, followed by the carrot, peas, green beans, and cauliflower, and cook for 3–4 minutes. Stir in the turmeric, garam masala, and salt, then add the drained basmati rice and gently toss everything together for about a minute. Pour in the water or vegetable stock and bring to a boil. Reduce the heat to low, cover tightly, and simmer for 15–18 minutes, or until the rice is tender and the liquid has been absorbed. Turn off the heat and let the pulao rest, covered, for 5 minutes before gently fluffing it with a fork. Finish with fresh coriander, mint, and lemon juice before serving.
Video
Notes
One-Pot Paneer Biryani
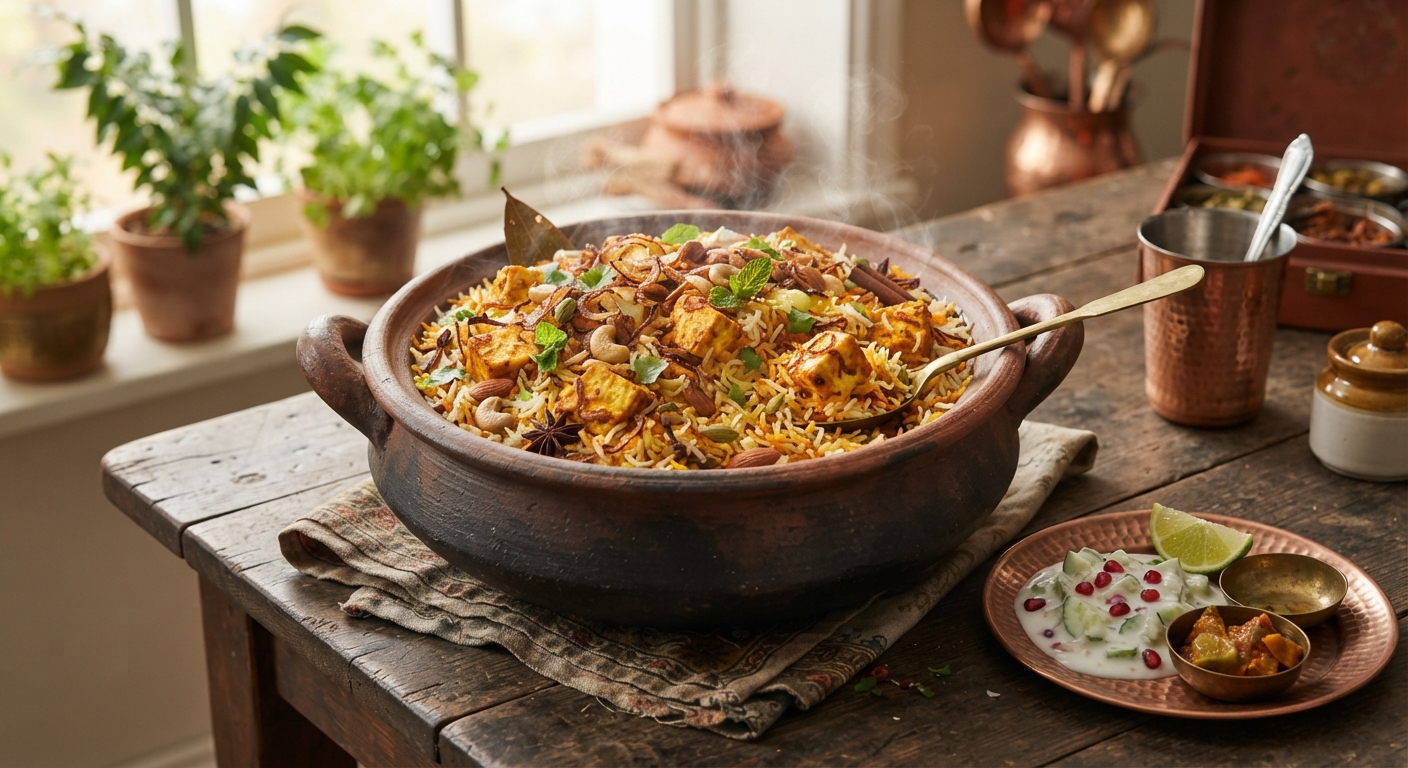
One-Pot Paneer Biryani
Ingredients
Method
- Heat the ghee or oil in a heavy-bottomed pot over medium heat and lightly fry the paneer cubes until they develop a golden crust, then remove them and set aside. In the same pot, add the cumin seeds, bay leaf, cardamom, cloves, and cinnamon, allowing them to become fragrant. Add the sliced onion and cook until golden, then stir in the ginger-garlic paste and green chilies. Add the chopped tomato, turmeric, Kashmiri chili powder, ground cumin, coriander, garam masala, and salt, cooking until the tomato softens and the oil begins to separate. Reduce the heat and stir in the yogurt gradually to prevent it from curdling. Add the soaked and drained rice and gently mix it with the masala, then return the paneer to the pot. Pour in the water or stock, bring everything to a gentle boil, then reduce the heat to low and cover tightly. Cook for 15–18 minutes, or until the rice is tender and the liquid has been absorbed. Turn off the heat and let the biryani rest, covered, for 5–10 minutes. Fluff gently with a fork and finish with fresh coriander, mint, lemon juice, and saffron milk or fried onions if using.
Video
Notes
Rajma Chawal (Punjabi Comfort)
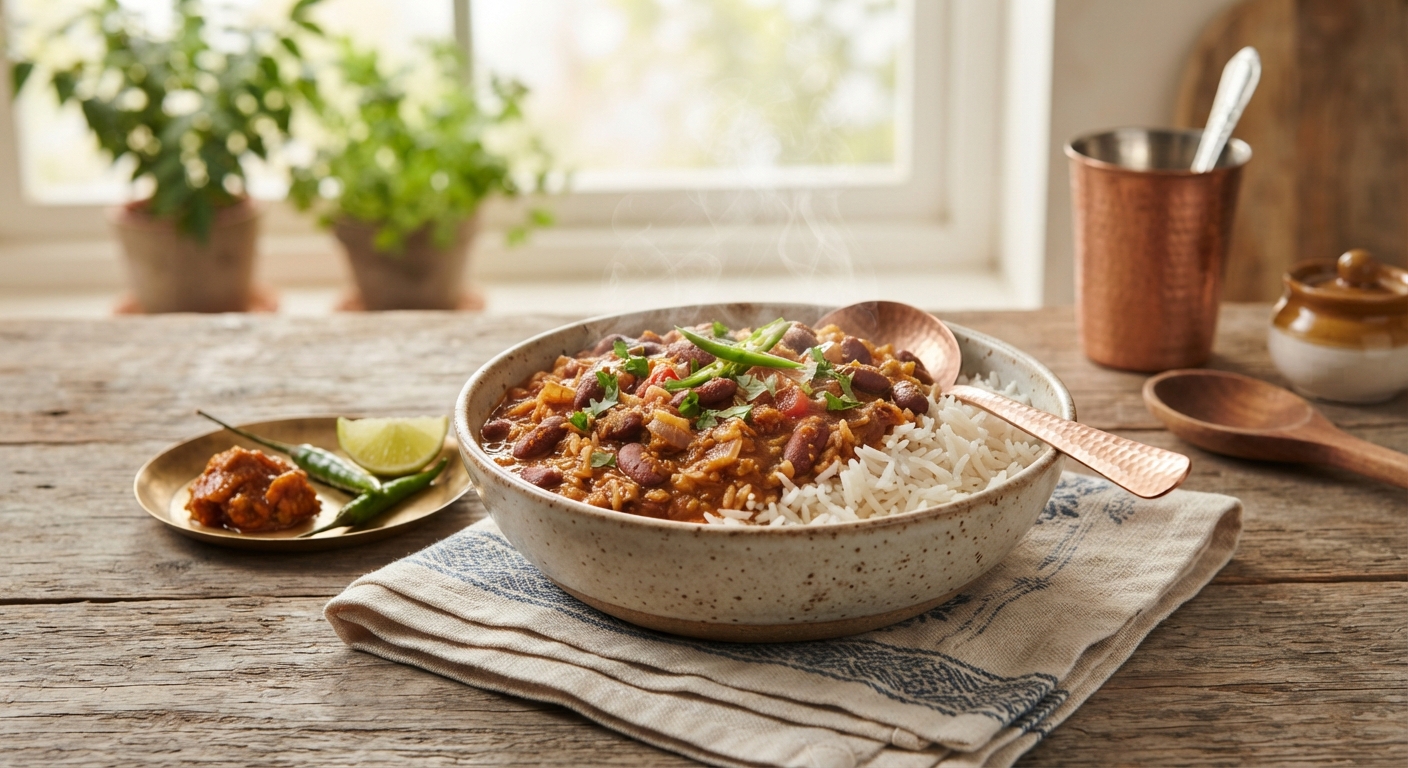
Rajma Chawal (Punjabi Comfort)
Ingredients
Method
- Drain and rinse the soaked kidney beans, then cook them in fresh water until completely tender and creamy inside, either in a pressure cooker or a heavy pot. Heat the oil or ghee in a separate heavy-bottomed pan and add the cumin seeds and bay leaf. Once fragrant, add the chopped onion and sauté until golden brown. Stir in the ginger-garlic paste and green chilies and cook for another minute, then add the tomatoes, turmeric, chili powder, coriander, cumin, black pepper, and salt. Cook the masala over medium heat until the tomatoes break down and the oil begins to separate from the mixture. Add the cooked kidney beans along with some of their cooking liquid and gently simmer for 20–25 minutes, stirring occasionally and lightly crushing a few beans against the side of the pot to naturally thicken the gravy. Stir in the garam masala and simmer for another 2–3 minutes. Meanwhile, cook the basmati rice separately until fluffy. Finish the rajma with fresh coriander and a little lemon juice, then serve generously over hot steamed rice.
Video
Notes
Sambar Rice (Tamil Nadu’s Tangy Champion)
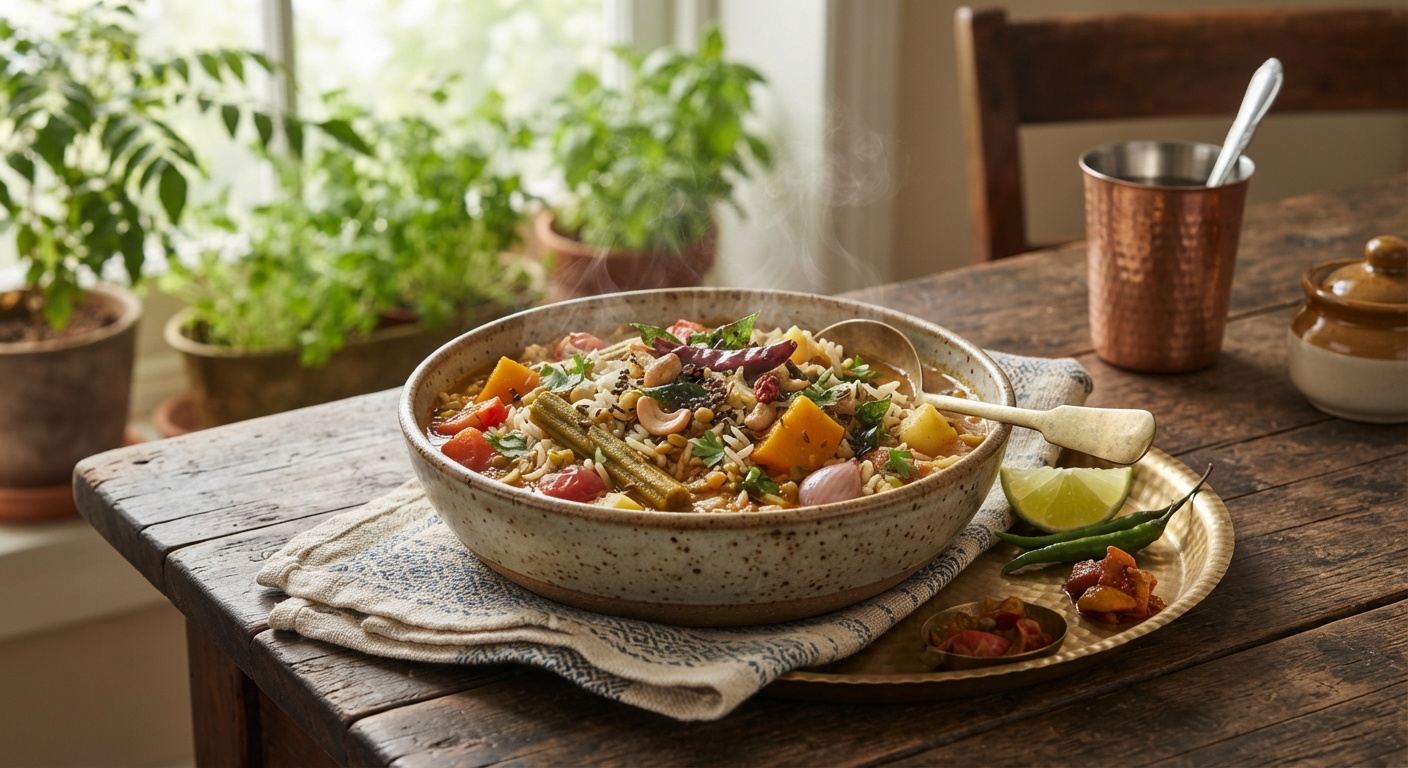
Sambar Rice (Tamil Nadu’s Tangy Champion)
Ingredients
Method
- Rinse the rice and toor dal thoroughly and add them to a large heavy-bottomed pot with the chopped vegetables, tomato, onion, turmeric, salt, and about 4 cups of water. Bring to a boil, then reduce the heat, cover, and cook until the rice, dal, and vegetables are very soft and creamy. While they cook, heat the oil or ghee in a small pan and add the mustard seeds, cumin seeds, dried red chili, curry leaves, and asafoetida. Once the spices begin to crackle, add the sambar powder and sauté briefly until fragrant, being careful not to burn it. Stir this tempering into the cooked rice and dal mixture, then add the tamarind paste and enough remaining water to create a thick, porridge-like consistency. Simmer everything together for another 5–7 minutes, stirring occasionally so the flavors blend beautifully. Taste and adjust the salt, tamarind, or sambar powder as needed, then garnish with fresh coriander and serve hot.
Video
Notes
Pav Bhaji (Mumbai Street Food, Simplified
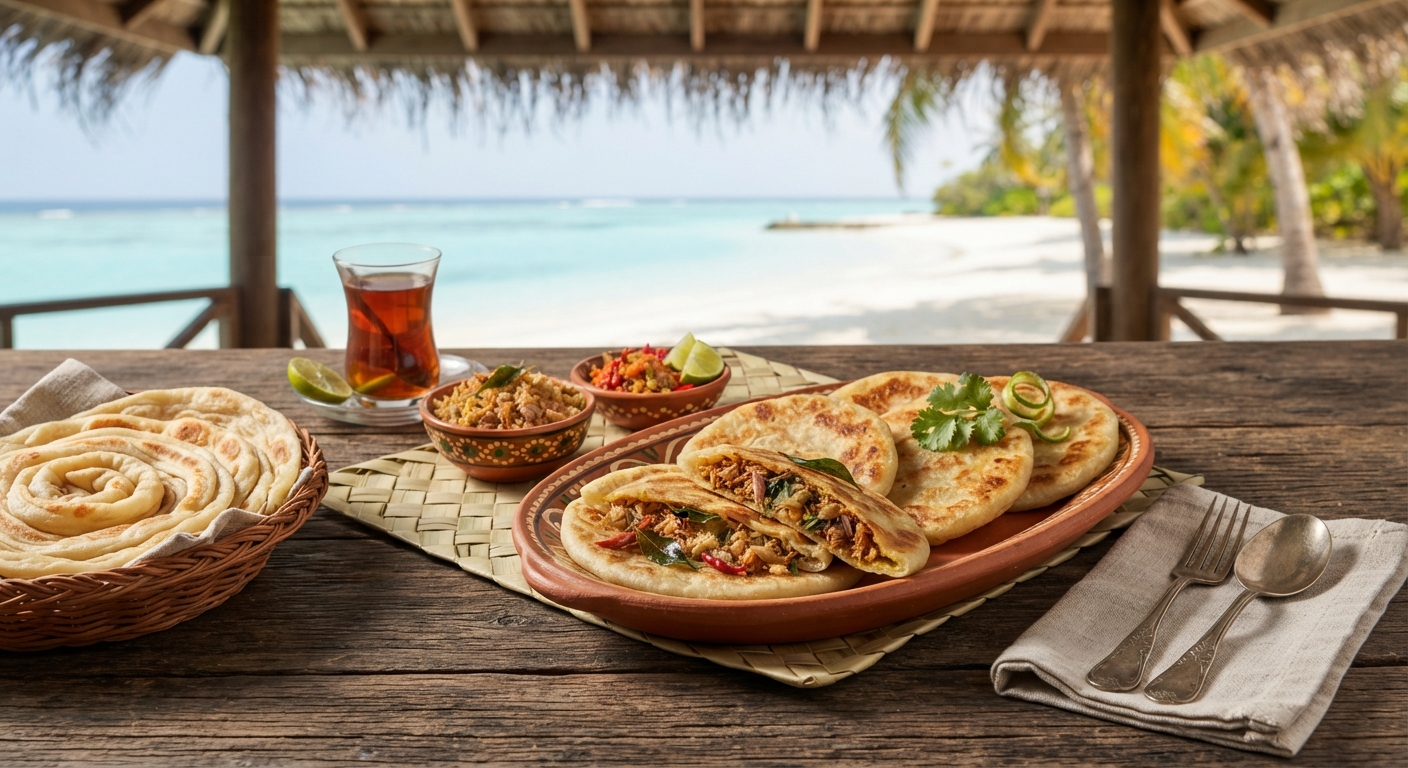
Pav Bhaji: Mumbai Street Food, Simplified
Ingredients
Method
- Cook the potatoes, cauliflower, peas, and carrot in a large pot of salted water until completely tender, then drain and roughly mash them together. Heat the oil and 1 tablespoon of butter in a large skillet or tawa over medium heat and sauté the chopped onion until soft and lightly golden. Add the ginger, garlic, and green bell pepper and cook for 2–3 minutes until fragrant. Stir in the tomatoes, turmeric, chili powder, pav bhaji masala, and salt, then cook until the tomatoes become soft and the mixture turns into a thick masala. Add the mashed vegetables and water, then use a potato masher to mash everything together directly in the pan. Simmer for 10–15 minutes, stirring frequently, until the bhaji becomes thick, smooth, and richly flavored. Stir in the lemon juice and remaining butter just before serving. Slice the pav buns and toast them on a hot pan with a little butter until golden and crisp on the edges. Serve the hot bhaji with buttered pav, chopped onion, fresh coriander, and lemon wedges.
Video
Notes
Paneer Bhurji Pulao (Protein-Packed Power)
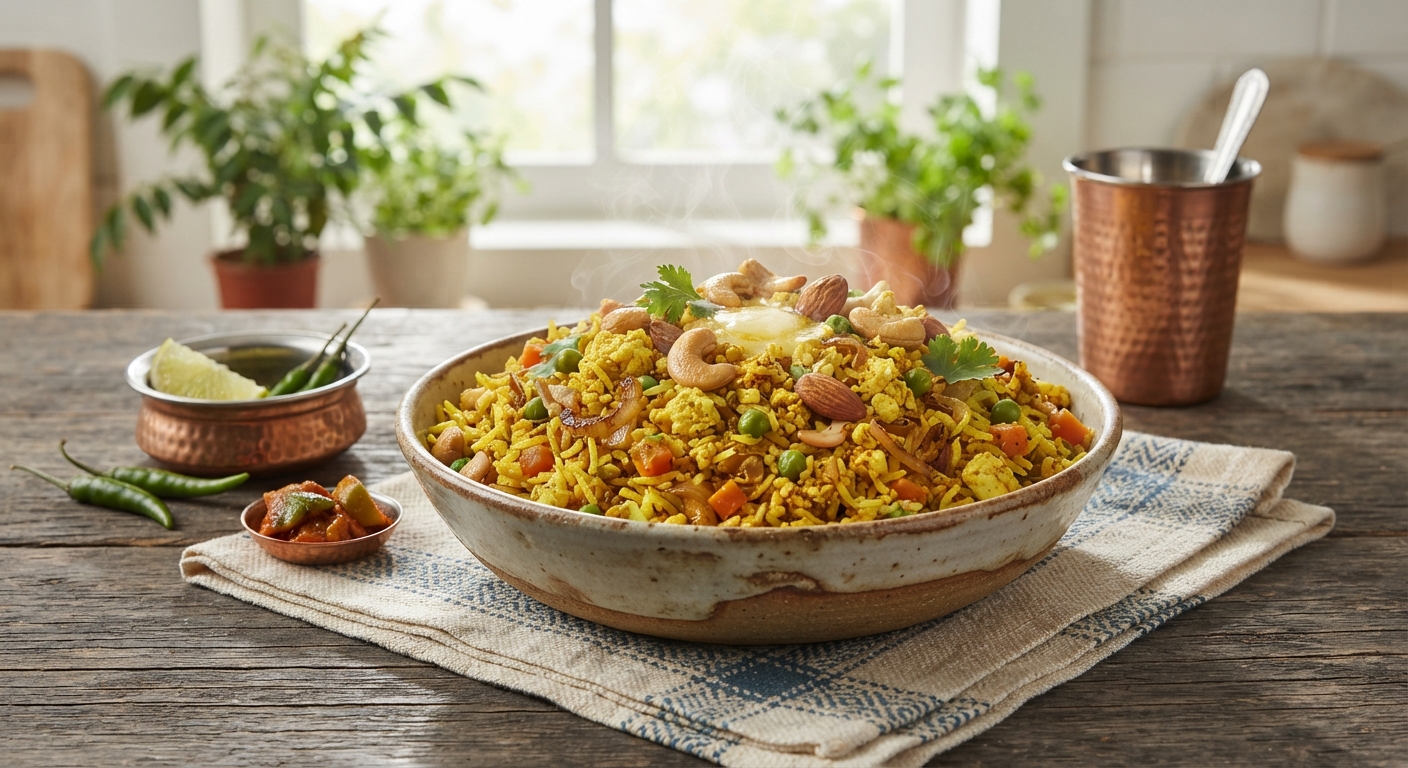
Paneer Bhurji Pulao (Protein-Packed Power)
Ingredients
Method
- Heat the ghee or oil in a heavy-bottomed pot over medium heat and add the cumin seeds, bay leaf, cardamom, cloves, and cinnamon. Once fragrant, add the onion and sauté until lightly golden. Stir in the ginger-garlic paste, green chilies, and bell pepper and cook for 2–3 minutes. Add the chopped tomato, turmeric, Kashmiri chili powder, ground cumin, garam masala, and salt, then cook until the tomato softens and the masala becomes fragrant. Add the crumbled paneer and green peas and gently sauté for 2–3 minutes, allowing the paneer to absorb the spices. Stir in the soaked and drained basmati rice, then carefully add the water or vegetable stock. Bring to a gentle boil, reduce the heat to low, cover tightly, and cook for 15–18 minutes until the rice is tender and the liquid has been absorbed. Turn off the heat and let the pulao rest, covered, for 5 minutes. Fluff gently with a fork, then finish with fresh coriander, mint, and lemon juice.
Video
Notes
Coconut Vegetable Stew
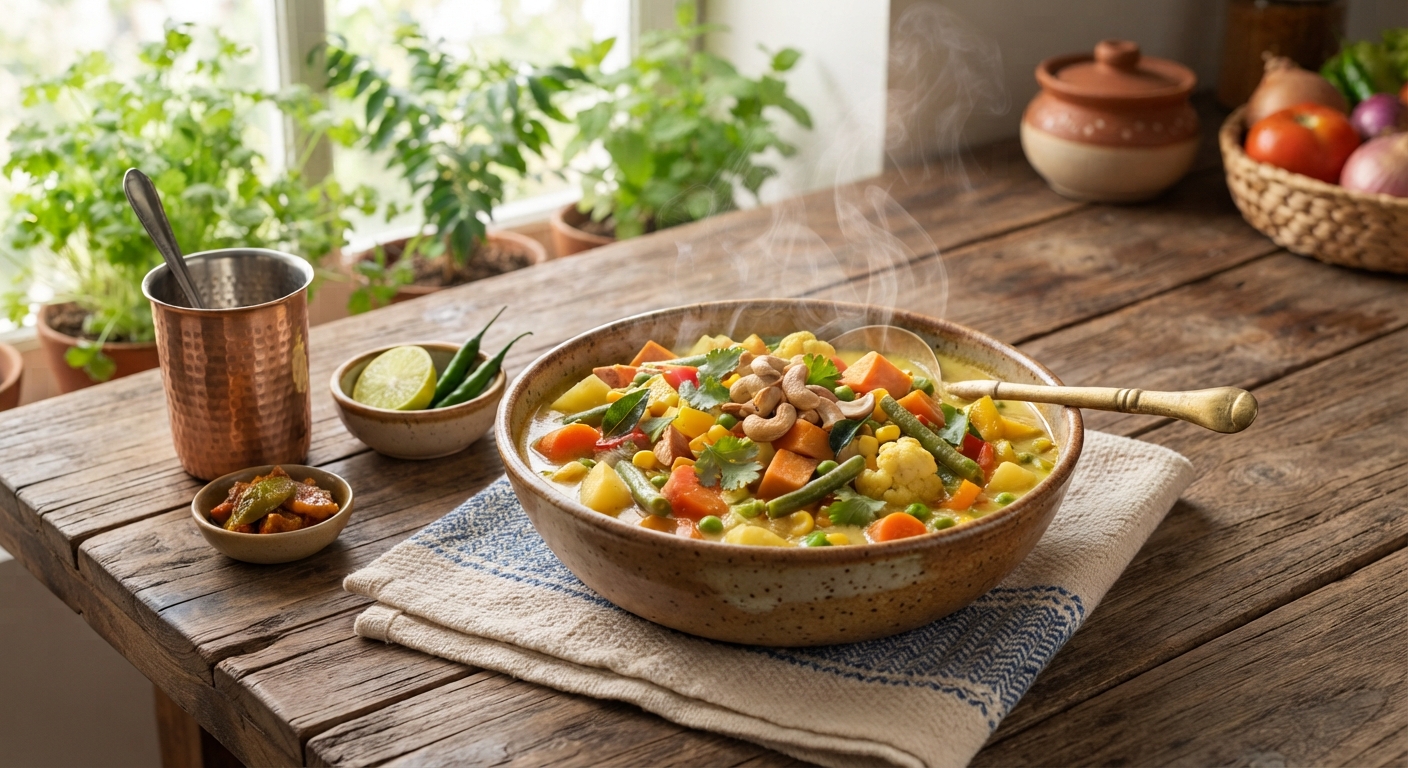
Coconut Vegetable Stew
Ingredients
Method
- Heat the coconut oil in a heavy-bottomed pot over medium heat and add the cumin seeds, cinnamon, cardamom, and curry leaves, allowing them to become fragrant. Add the sliced onion, garlic, ginger, and green chilies and sauté gently until the onion becomes soft without browning too much. Add the carrot, potato, cauliflower, green beans, peas, and turmeric, then stir for 2–3 minutes so the vegetables become coated with the aromatic spices. Pour in the coconut milk and water or vegetable stock, season with salt and black pepper, and bring the stew to a gentle simmer. Cover and cook for 15–20 minutes, or until the vegetables are tender but still retain some texture. Remove the lid and simmer for another few minutes if you prefer a slightly thicker sauce. Finish with fresh lime juice and coriander, then serve hot with steamed rice, roti, or warm bread.
Video
Notes
Tomato Rice (Zesty, Quick, and Tangy)
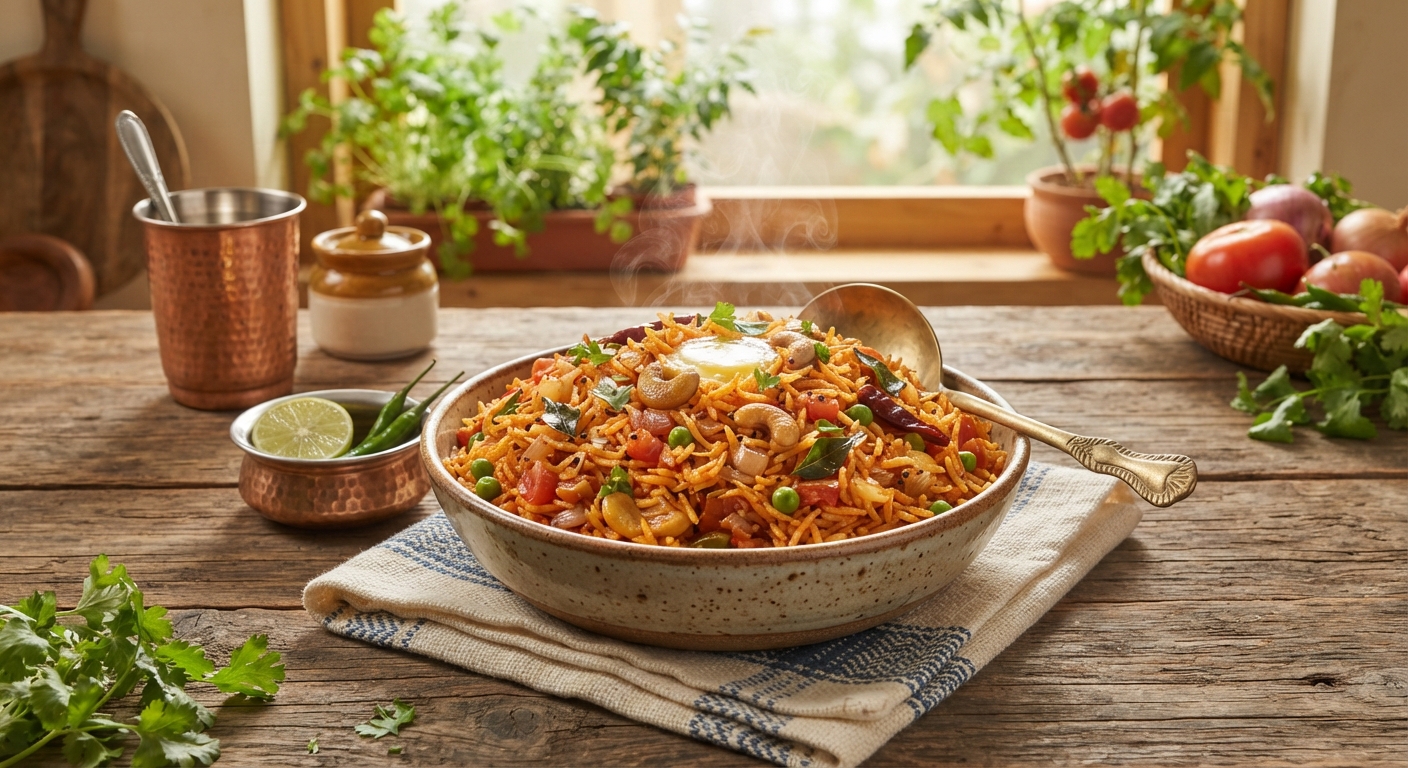
Tomato Rice: Zesty, Quick, and Tangy
Ingredients
Method
- Heat the oil or ghee in a heavy-bottomed pot over medium heat and add the mustard seeds, cumin seeds, dried red chili, and curry leaves. Once the seeds begin to crackle, add the chopped onion, ginger, garlic, and green chilies and sauté until the onion becomes soft and fragrant. Add the chopped tomatoes, turmeric, Kashmiri chili powder, cumin, coriander, asafoetida, and salt, then cook for 5–7 minutes until the tomatoes break down into a thick, flavorful masala. Add the rinsed rice and gently stir until every grain is coated with the tomato mixture. Pour in the water or vegetable stock and bring to a boil, then reduce the heat to low and cover tightly. Cook for 15–18 minutes, or until the rice is tender and the liquid has been absorbed. Turn off the heat and let the rice rest, covered, for 5 minutes before fluffing gently with a fork. Finish with fresh coriander and a squeeze of lemon juice for an extra zesty finish.
Video
Notes
Frequently Asked Questions About One-Pot Indian Cooking
Q1: What equipment do I need for one-pot Indian cooking?
A pressure cooker or Instant Pot is ideal for most dishes, but a deep, heavy-bottomed pan with a lid works just as well for many recipes. “Use a heavy-bottomed pot—this ensures even heat distribution, preventing the rice from burning at the bottom” .
Q2: Which rice works best for one-pot Indian meals?
Basmati rice is perfect for biryani and pulao, while short-grain varieties like sona masoori or ambe mohor rice are better for khichdi and rasam rice as they absorb more flavors .
Q3: Can I make one-pot Indian meals without a pressure cooker?
Absolutely! Most dishes can be cooked in a deep pan or heavy-bottomed pot on the stovetop—just adjust the cooking time and liquid ratio .
Q4: What’s the best one-pot meal for protein?
Paneer pulao, moong dal khichdi, and chickpea curry with rice are all excellent high-protein options .
Q5: Are one-pot Indian meals gluten-free?
Many are naturally gluten-free (like khichdi, rasam rice, and sambar rice). Just ensure your spices are pure and unadulterated .
Q6: How do I avoid burning the rice at the bottom?
Use a heavy-bottomed pot, ensure the heat is low and even, and don’t stir too much after the water comes to a boil .
Q7: Can I use quinoa instead of rice?
Yes! Quinoa khichdi is a fantastic modern twist on the traditional dish and packs even more protein. “Rinse quinoa well under running water for 30–60 seconds to remove any bitterness”
Join The Taste Voyage Community
One-pot Indian cooking is more than a convenience—it’s a return to what food should be: simple, nourishing, and deeply satisfying. In a world of 10-minute delivery apps and processed ready-to-eat meals , there’s something revolutionary about taking 20 minutes to cook for yourself.
Ready to embark on your one-pot journey?
- Explore our curated collection of one-pot Indian recipes
- Share your cooking adventures with #TheTasteVoyage on social media
- Subscribe to our newsletter for weekly recipe inspiration
Conclusion: Your One-Pot Indian Adventure Starts Now
As we wrap up this culinary journey, let’s take a moment to reflect on what one-pot Indian cooking truly offers—and why it deserves a permanent place in your kitchen rotation.
The Bigger Picture
In our fast-paced world, where meal delivery apps promise dinner in 10 minutes and ready-to-eat options line supermarket shelves, cooking from scratch can feel like a luxury we simply can’t afford. But here’s the truth I’ve discovered through years of testing, tasting, and tweaking recipes at The Taste Voyage:
One-pot Indian meals aren’t just about saving time—they’re about reclaiming something precious.
They’re about the meditative rhythm of chopping vegetables, the anticipation as spices bloom in hot oil, and the sheer joy of lifting the lid to reveal a dish that’s aromatic, colorful, and utterly yours. They’re about sitting down to a meal that didn’t come from a factory or a delivery bag, but from your hands and your heart.
What You’ve Learned Today
| What We Covered | Why It Matters |
|---|---|
| 10 versatile recipes | From khichdi to biryani—something for every mood and occasion |
| The detox factor | Comfort food that actually nourishes your body |
| Practical tips | No fancy equipment needed—just a pot and a willingness to try |
| Common pitfalls | Avoiding burnt rice, balancing spices, getting textures right |
Your Invitation
Here’s my challenge to you: Pick just one recipe from this list this week.
It doesn’t have to be perfect. Your khichdi might be a little runny, or your pulao might stick to the bottom. That’s okay—that’s how we learn. What matters is that you start. That you experience the magic of layering flavors in a single pot. That you taste the difference between something made with love and something made in a factory.
The Taste Voyage Promise
At The Taste Voyage, we believe that everyone deserves access to authentic Indian cooking—not as a complicated, intimidating art form, but as an approachable, joyful daily practice. We’re here to guide you, inspire you, and celebrate every small victory in your kitchen.
Because here’s what I know for sure: The best meals aren’t the most elaborate ones. They’re the ones made with intention, shared with loved ones, and savored without rush.
What’s Next?
Ready to dive deeper?
- 📖 Bookmark this page for your weekly meal planning
- 📸 Snap a photo of your one-pot creation and tag us—we’d love to feature you!
- 💬 Drop a comment below: Which recipe are you trying first? I read every single one.
- 📧 Subscribe to our newsletter for exclusive recipes, cooking tips, and a dash of inspiration delivered straight to your inbox