
Disclaimer: Nutrition values are estimates only and will vary based on specific brands and ingredients used. This recipe is intended for general informational purposes and is not a substitute for professional dietary advice
Why This Halloween Skull Pizza Recipe Works Better Than the Rest
Most skull pizza recipes online stop at “press dough into a mold and bake.” That works, but it leaves you guessing on nutrition, storage, and what to do if you don’t own a skull-shaped pan. This recipe fixes that. It gives you three different ways to shape your skulls (mold, freehand, or cookie cutter), a full nutrition profile so you know exactly what you’re serving, and troubleshooting tips pulled from real trial-and-error in the kitchen not just a pretty photo and a short ingredient list.
Whether you’re making dinner before trick-or-treating or feeding a room full of costumed kids at a Halloween party, this recipe is built to actually work on the first try.
What You’ll Need
Serves: 6 skull pizzas Prep time: 20 minutes Bake time: 12–15 minutes Total time: About 35 minutes
Ingredients
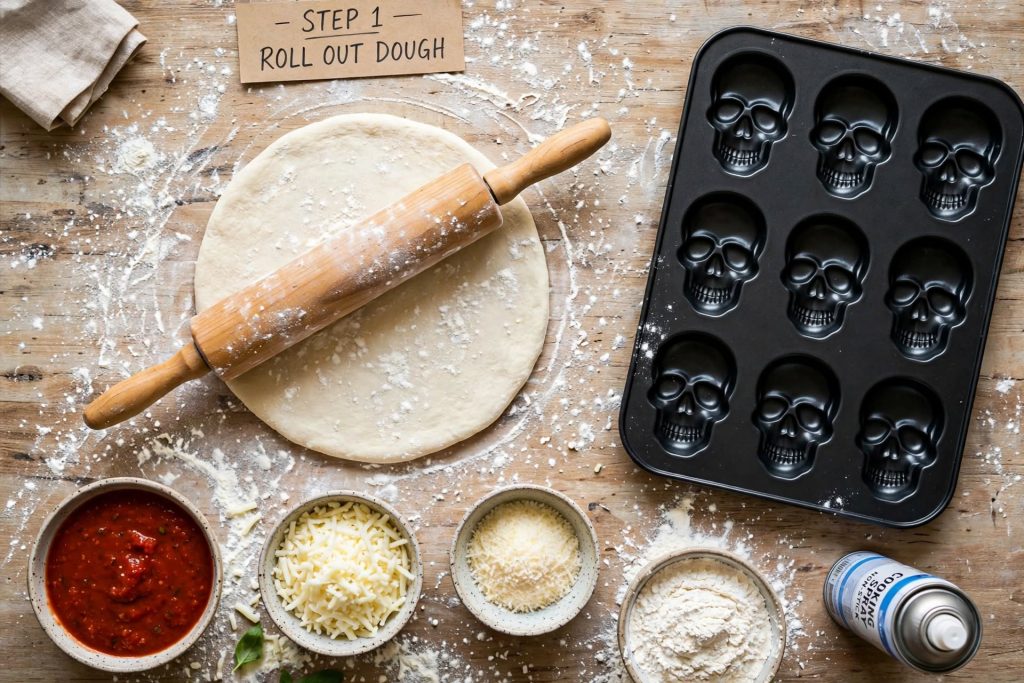
- 1 lb (450g) pizza dough (store-bought or homemade, ball or refrigerated tube style)
- 1 cup pizza sauce or marinara
- 2 cups shredded mozzarella cheese, divided
- 1/4 cup grated parmesan
- Toppings of choice: pepperoni, cooked Italian sausage, mushrooms, bell peppers, black olives
- 1 egg, beaten (for sealing edges, if using a mold)
- Flour, for dusting
- Cooking spray (if using a skull-shaped pan)
- Optional garnish: black olive slices (eyes), thin pepper strips (teeth/nose)
Equipment
- A 6-cavity skull-shaped silicone or metal baking pan (widely available on Amazon,)
- No mold? Use a large skull cookie cutter on rolled dough, or free-hand cut skull outlines with a paring knife
- Baking sheet
- Rolling pin
Step-by-Step Instructions
- Preheat the oven to 400°F (200°C). Lightly grease your skull-shaped pan with cooking spray, or line a baking sheet with parchment if free-handing the shapes.
- Roll out the dough on a lightly floured surface until it’s about 1/4-inch thick. Cut into 6 rectangles (for a mold) or 6 skull-shaped pieces using a cutter or paring knife.
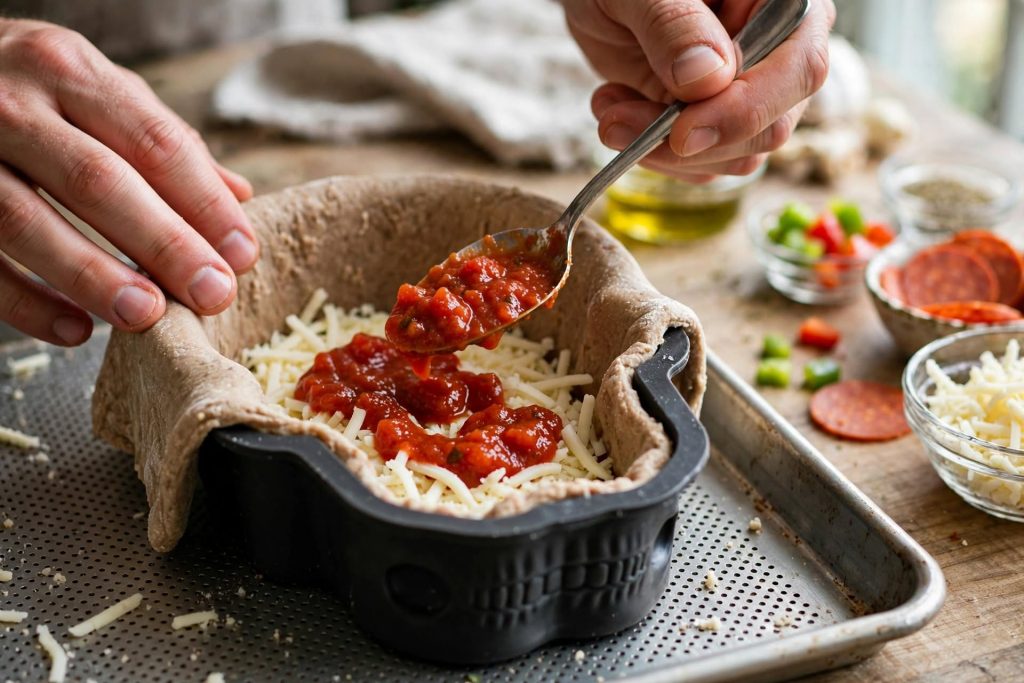
- Press the dough into the mold, if using one, leaving a slight overhang around the edges. If free-handing, lay the skull-shaped dough flat on your baking sheet.
- Layer the filling. Add a small spoonful of mozzarella first (this helps prevent a soggy bottom), then 1 tablespoon of sauce, your chosen toppings, and a final layer of mozzarella and parmesan on top.
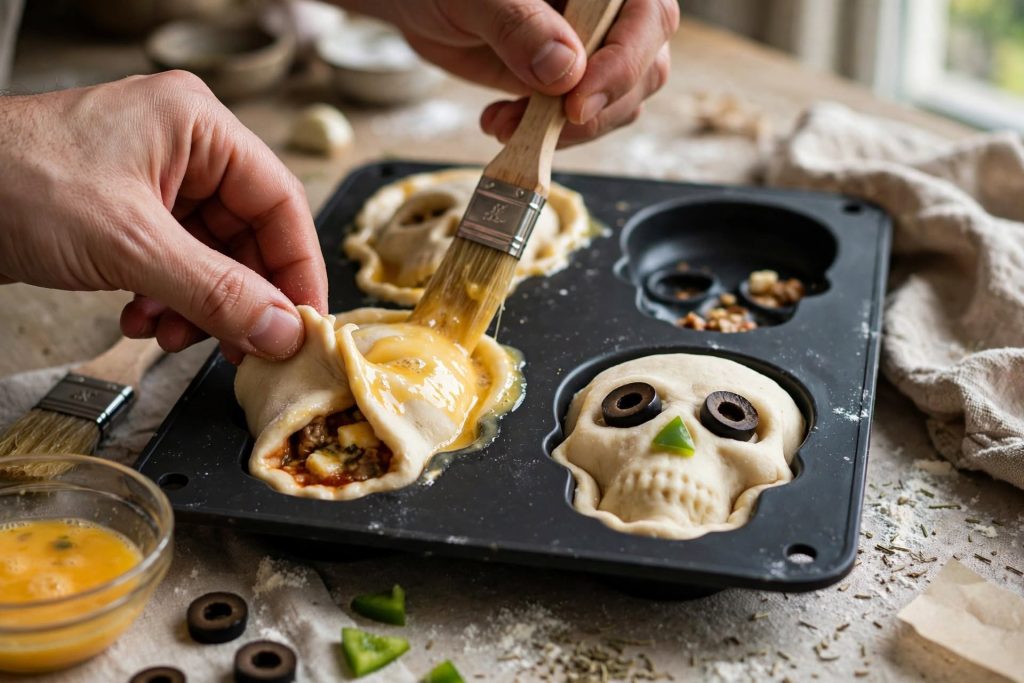
- Seal the pizzas. For mold-style skulls, fold the overhanging dough over the filling, brush the edges with beaten egg, and pinch to seal. For flat skull pizzas, simply leave the toppings open-faced.
- Add the spooky face. Use small pieces of black olive for eye sockets and a triangle of pepper or olive for the nasal cavity. Thin strips of cheese or pepper make good “cracks” across the skull.
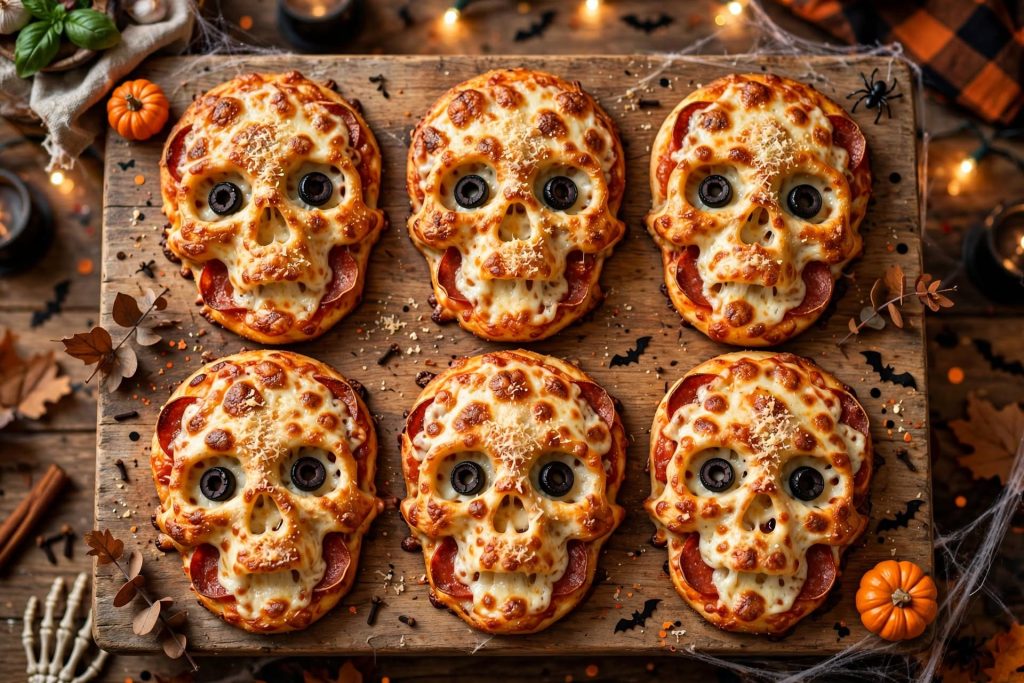
- Bake for 12–15 minutes, or until the dough is golden brown and the cheese is bubbling.
- Cool for 5 minutes before removing from the mold — this helps them hold their shape when unmolded.
Nutrition Profile (Per Skull Pizza, Approximate)
| Nutrient | Amount |
|---|---|
| Calories | 290 kcal |
| Protein | 13 g |
| Carbohydrates | 30 g |
| Fiber | 1.5 g |
| Sugars | 3 g |
| Total Fat | 12 g |
| Saturated Fat | 5 g |
| Sodium | 540 mg |
| Calcium | 210 mg |
Values are estimates based on a cheese-and-pepperoni filling using standard store-bought dough and full-fat mozzarella. Actual numbers will shift depending on your dough brand and toppings.
Nutrition Notes
- Protein comes mainly from the cheese and meat toppings. Swapping in turkey pepperoni or grilled chicken instead of pork pepperoni lowers saturated fat while keeping protein high — useful if you’re feeding a crowd with mixed dietary needs.
- Sodium is the number to watch. Between the dough, sauce, cheese, and cured meats, sodium adds up fast. Using a low-sodium marinara and part-skim mozzarella can cut sodium by roughly 15–20% without sacrificing flavor.
- Fiber can be boosted by using a whole wheat or part-whole-wheat pizza dough, or by adding finely chopped mushrooms and spinach into the filling — both blend in visually so picky eaters won’t notice.
- This is a shareable-plate recipe, not a diet food. It’s meant for a seasonal treat, so there’s no need to over-engineer it — moderate portions (one to two skulls) alongside a salad or veggie tray keeps a Halloween dinner balanced.
Tips for Perfect Skull Pizzas Every Time
- No skull pan? No problem. A large skull-shaped cookie cutter works on rolled-out dough for flat, open-faced skull pizzas — just add toppings and bake directly on a sheet pan.
- Prep ahead. Assemble the filled, sealed skulls up to a day in advance, keep them covered in the fridge, and bake fresh right before serving.
- Freeze for later. Fully baked and cooled skulls freeze well for up to 2 months. Reheat from frozen at 375°F for about 12 minutes.
- Prevent a soggy bottom by adding a thin layer of cheese directly on the dough before the sauce — the cheese acts as a barrier.
- Let kids build their own. Set out bowls of toppings and let each person fill and decorate their own skull before baking — it turns dinner into an activity.
- Watch the bake time closely in a metal mold, since metal conducts heat faster than silicone and can brown the bottoms before the tops are done.
Frequently Asked Questions
Can I make skull pizzas without a special pan? Yes. Roll out dough, cut skull shapes with a large cookie cutter or a paring knife using a printed template, then top and bake them open-faced on a regular baking sheet.
What dough works best for skull pizzas? Refrigerated pizza dough or a basic homemade yeast dough both work well. Thinner doughs bake faster and give crisper edges; thicker doughs give a softer, breadier bite.
Can I make these ahead of time for a party? Yes. Assemble and seal the skulls, then refrigerate covered for up to 24 hours before baking. You can also fully bake, cool, and freeze them for longer storage.
Are skull pizzas kid-friendly to make? Very much so. The filling and folding steps are simple enough for kids to help with, and letting them choose their own toppings makes it a fun pre-Halloween activity.
How do I keep the filling from leaking out during baking? Don’t overfill the dough, and make sure the edges are well-pinched and sealed with a light egg wash before baking. Leaving a small vent hole at the top also helps steam escape without bursting the seams.
Can I make a vegetarian version? Yes — swap the meat toppings for mushrooms, roasted peppers, spinach, or black beans. The cheese and sauce layers stay the same.
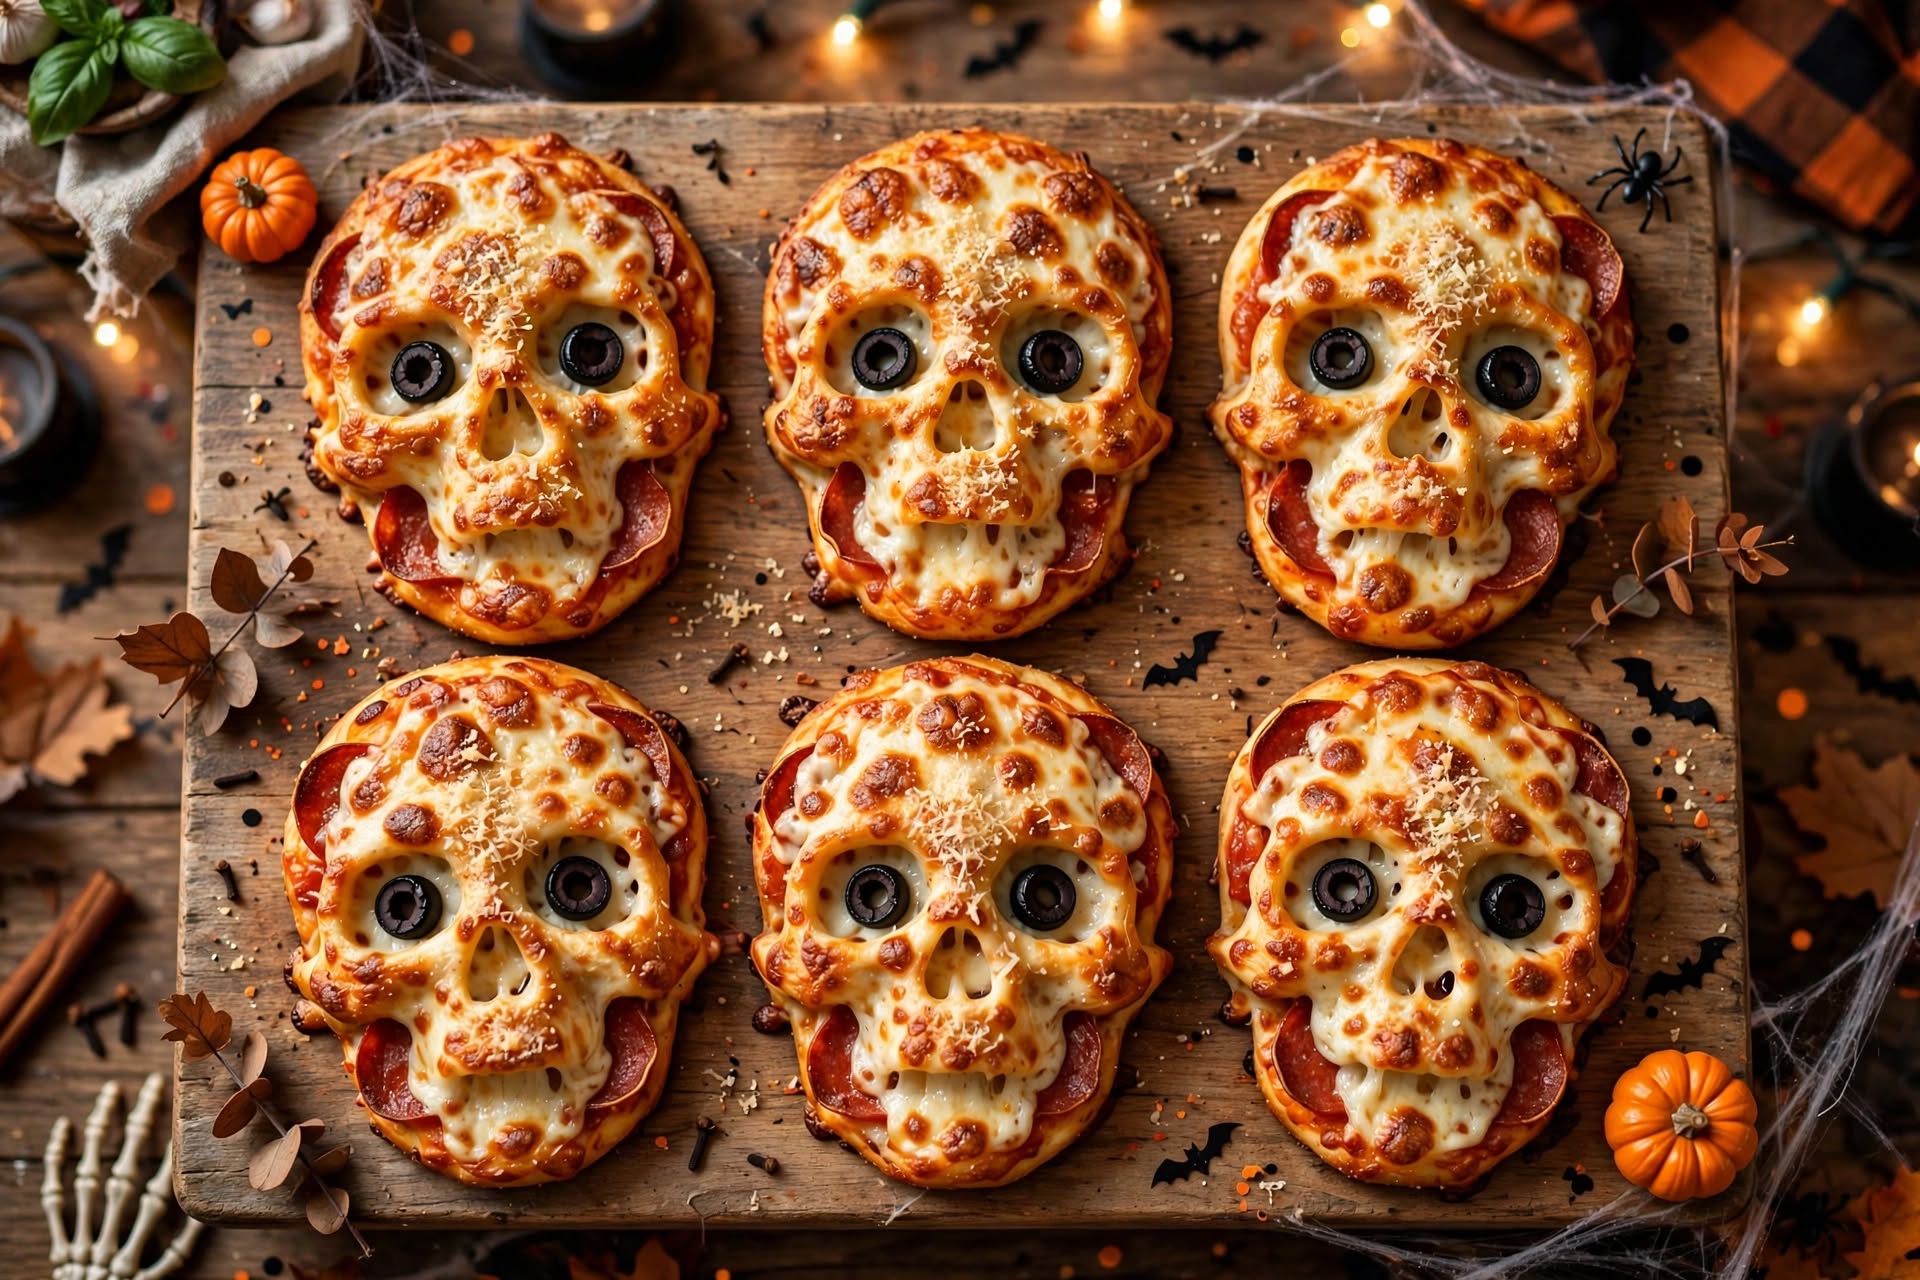
Halloween Skull Pizza Recipe: Easy, Cheesy Skull-Shaped Pizzas for Your Spooky Party
Ingredients
Equipment
Method
- Preheat the oven to 400°F (200°C). Lightly grease your skull-shaped pan with cooking spray, or line a baking sheet with parchment if free-handing the shapes.
- Roll out the dough on a lightly floured surface until it’s about 1/4-inch thick. Cut into 6 rectangles (for a mold) or 6 skull-shaped pieces using a cutter or paring knife.
- Press the dough into the mold, if using one, leaving a slight overhang around the edges. If free-handing, lay the skull-shaped dough flat on your baking sheet.
- Layer the filling. Add a small spoonful of mozzarella first (this helps prevent a soggy bottom), then 1 tablespoon of sauce, your chosen toppings, and a final layer of mozzarella and parmesan on top.
- Seal the pizzas. For mold-style skulls, fold the overhanging dough over the filling, brush the edges with beaten egg, and pinch to seal. For flat skull pizzas, simply leave the toppings open-faced.
- Add the spooky face. Use small pieces of black olive for eye sockets and a triangle of pepper or olive for the nasal cavity. Thin strips of cheese or pepper make good “cracks” across the skull.
- Bake for 12–15 minutes, or until the dough is golden brown and the cheese is bubbling.
- Cool for 5 minutes before removing from the mold — this helps them hold their shape when unmolded.
Video
Notes
Final Thoughts
Skull-shaped pizzas hit that sweet spot of being genuinely fun to make and genuinely good to eat they don’t rely on a spooky theme to make up for bland food. Whether you use a dedicated mold or just a cookie cutter and a steady hand, the payoff is a Halloween dinner or party snack that looks impressive and disappears fast. Make a batch ahead, freeze what you don’t need, and you’ve got a stress-free spooky-season meal ready whenever the craving hits.
.