Ingredients
Equipment
Method
- Preheat the oven to 400°F (200°C). Lightly grease your skull-shaped pan with cooking spray, or line a baking sheet with parchment if free-handing the shapes.
- Roll out the dough on a lightly floured surface until it's about 1/4-inch thick. Cut into 6 rectangles (for a mold) or 6 skull-shaped pieces using a cutter or paring knife.
- Press the dough into the mold, if using one, leaving a slight overhang around the edges. If free-handing, lay the skull-shaped dough flat on your baking sheet.
- Layer the filling. Add a small spoonful of mozzarella first (this helps prevent a soggy bottom), then 1 tablespoon of sauce, your chosen toppings, and a final layer of mozzarella and parmesan on top.
- Seal the pizzas. For mold-style skulls, fold the overhanging dough over the filling, brush the edges with beaten egg, and pinch to seal. For flat skull pizzas, simply leave the toppings open-faced.
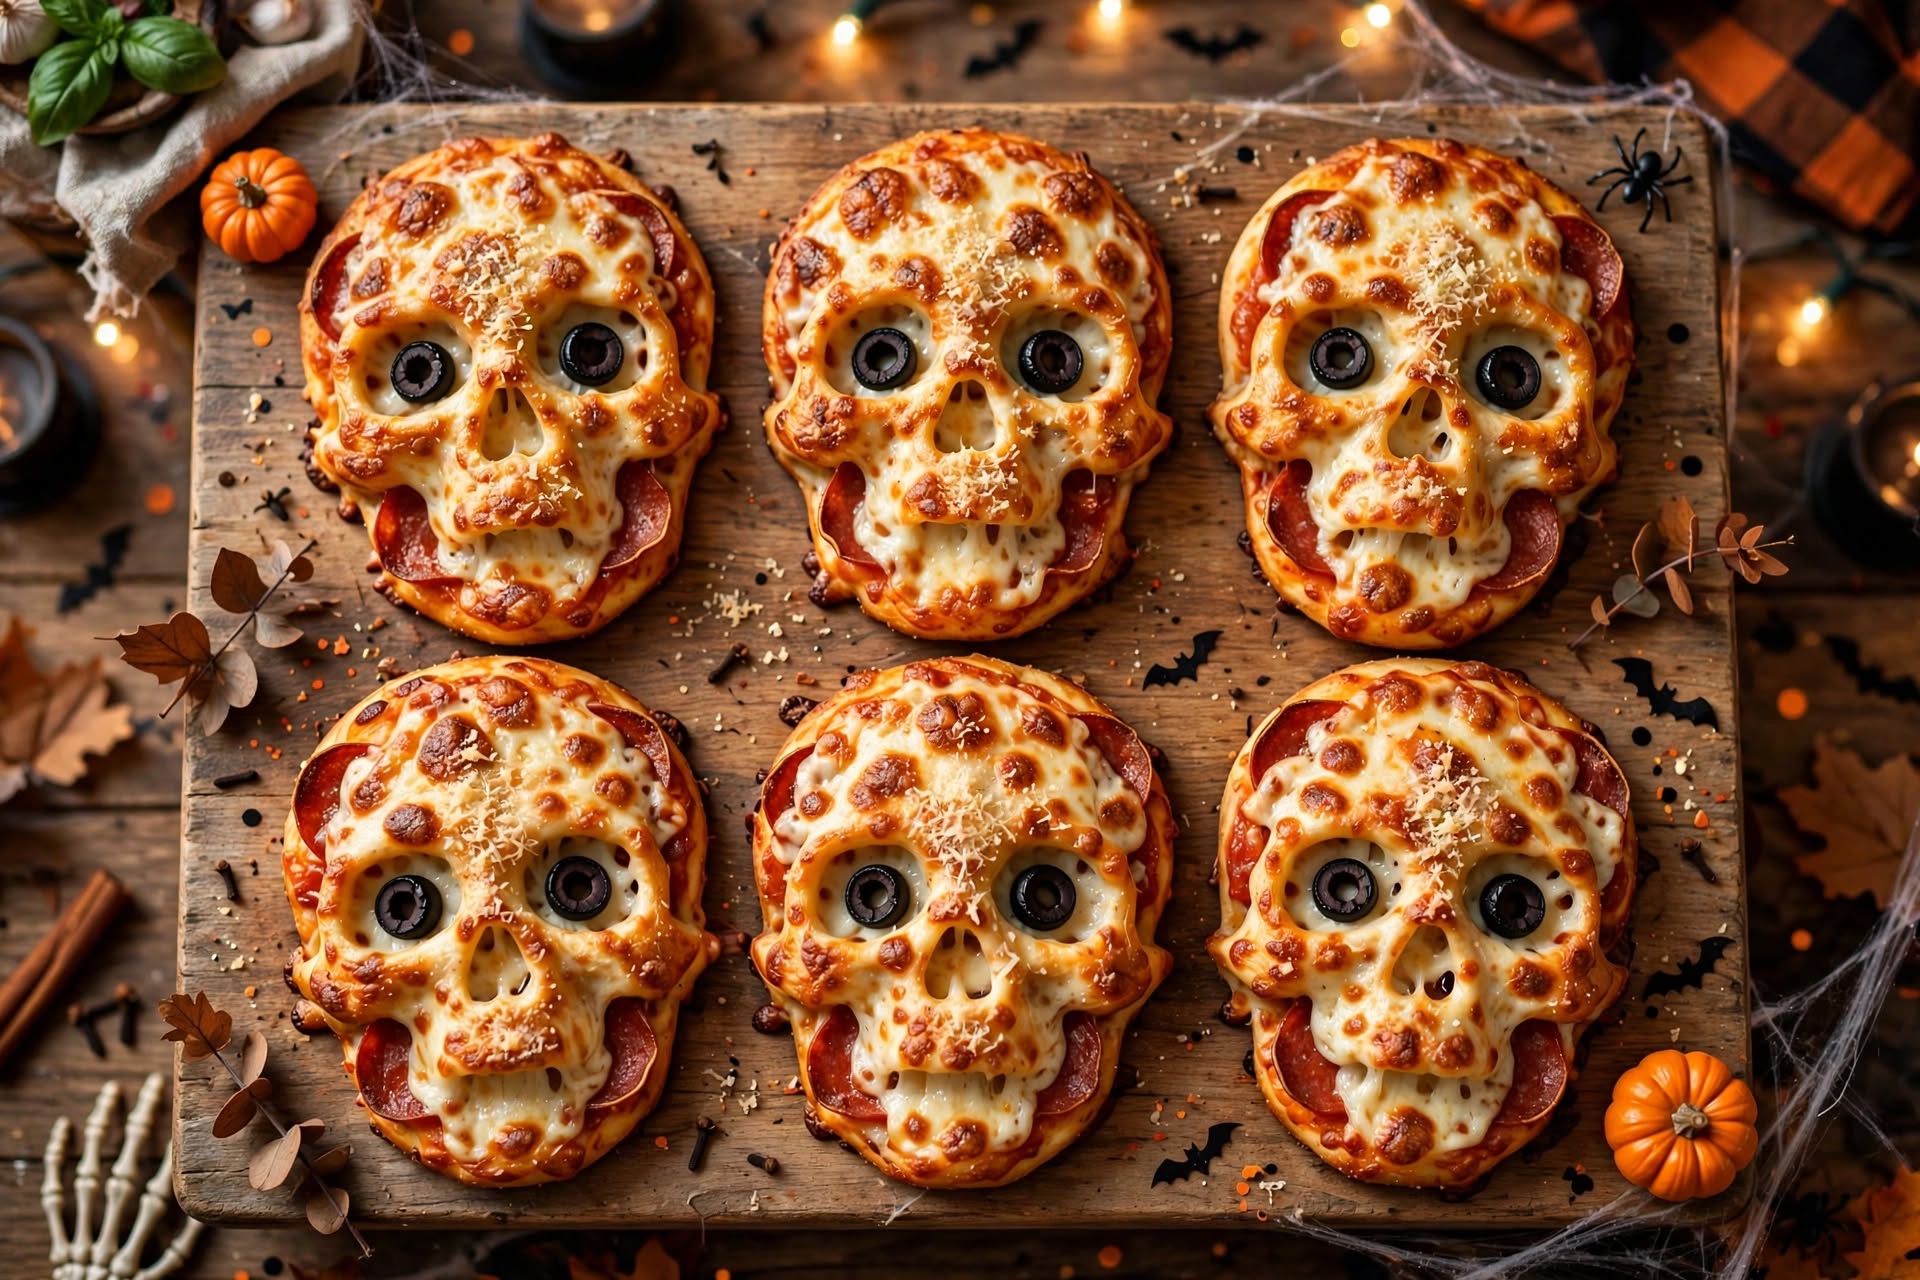
- Add the spooky face. Use small pieces of black olive for eye sockets and a triangle of pepper or olive for the nasal cavity. Thin strips of cheese or pepper make good "cracks" across the skull.
- Bake for 12–15 minutes, or until the dough is golden brown and the cheese is bubbling.
- Cool for 5 minutes before removing from the mold — this helps them hold their shape when unmolded.
Video
Notes
For extra-crisp skulls, brush the exposed dough edges with a little olive oil before baking — it gives the crust a golden, slightly crunchy finish instead of a pale, soft one. If your dough seems to be browning too fast on the bottom, place a second empty baking sheet underneath as insulation for the last few minutes.
If you're making a big batch for a party, bake the skulls in two shifts and keep the first batch warm in a 200°F oven — pizza dough firms up fast once it cools, and reheating a fully baked skull pizza in the microwave makes the crust chewy instead of crisp.